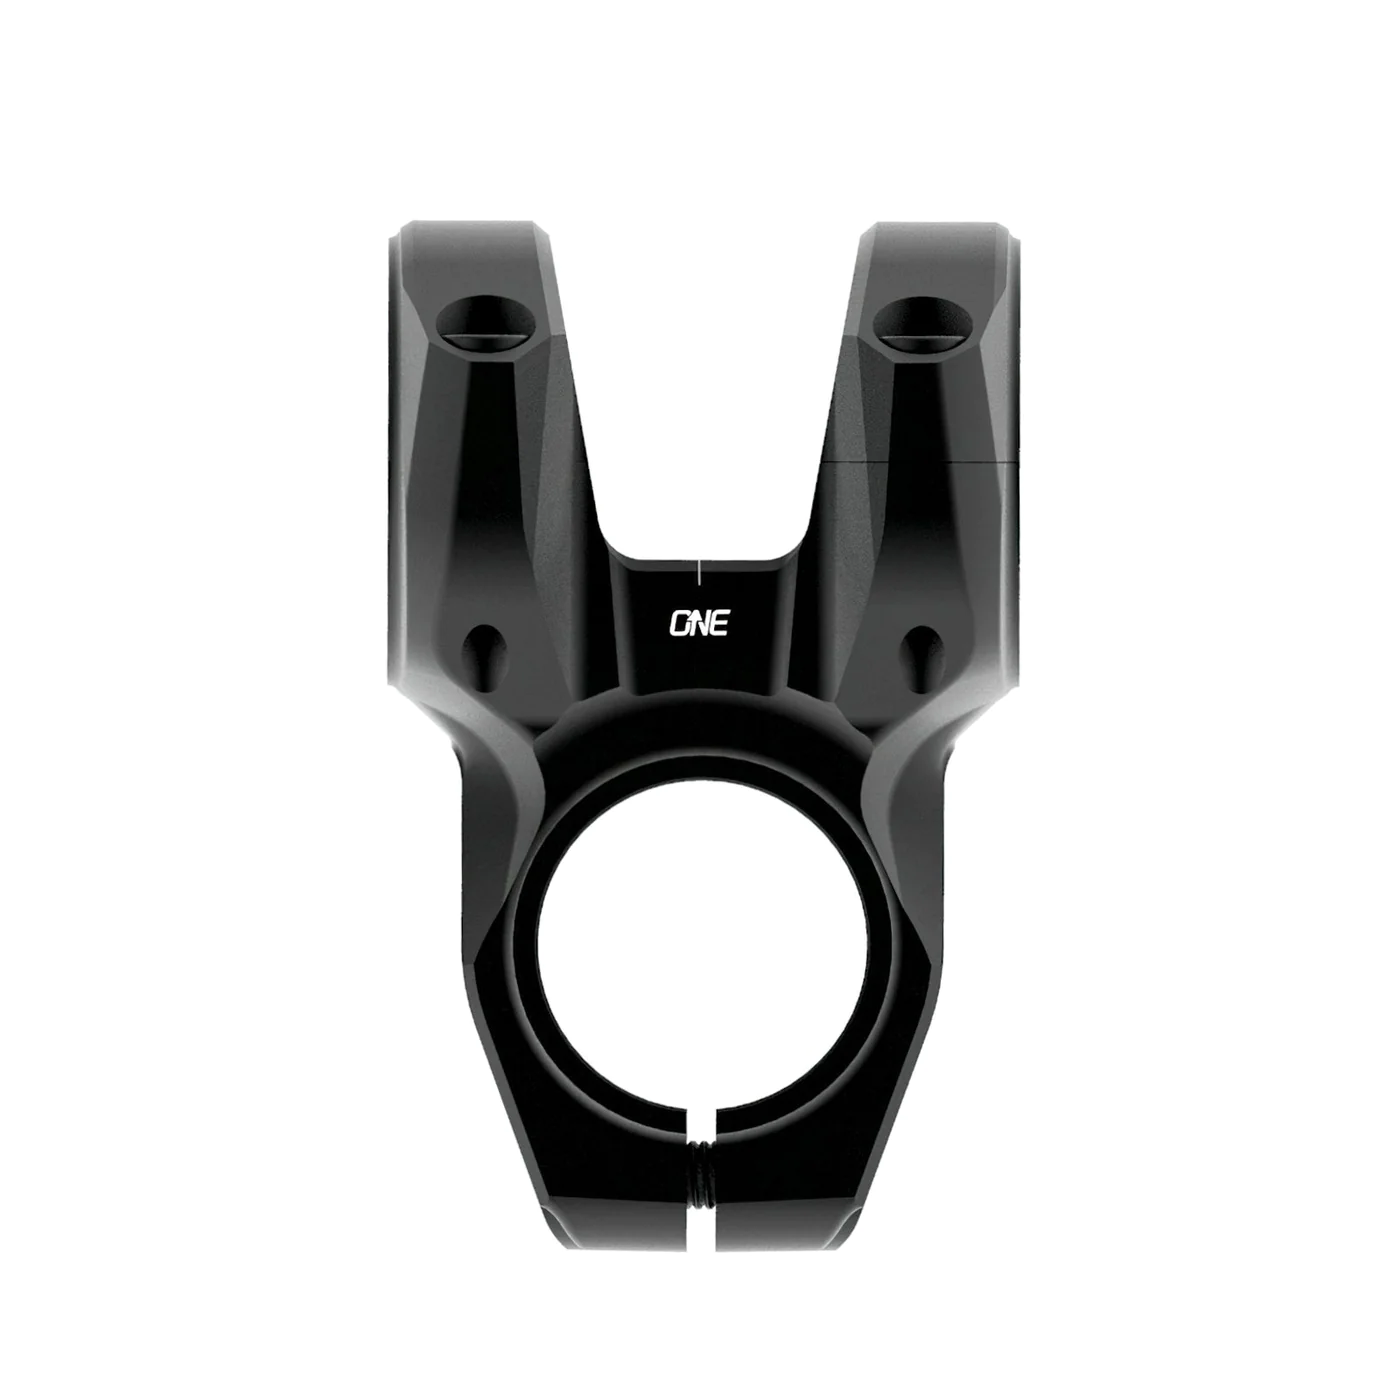
A mountain bike stem is a crucial component that connects your bike’s handlebars to the fork’s steerer tube. It influences your riding posture and comfort, making it essential to install it correctly. Here’s a step-by-step guide on how to install a mountain bike stem:
Tools and Materials Needed:
- Mountain bike
- New stem
- Allen wrenches (usually 4mm, 5mm, and 6mm)
- Torque wrench
- Grease
- Clean rag
Step 1: Choose the Right Stem: Before starting, make sure you have the correct stem for your bike and riding style. Stems come in various lengths and angles, which affect your bike’s handling and your riding posture. If you’re unsure, consult with a bike shop or experienced riders for guidance.
Step 2: Prepare Your Workspace: Find a clean, well-lit area to work on your bike. Lay down a soft cloth or cardboard to protect the bike’s frame and components from scratches.
Step 3: Gather Tools and Materials: Ensure you have all the necessary tools and materials listed above before beginning the installation.
Step 4: Remove the Old Stem:
- Loosen and remove the bolts on the stem cap (top cap) using an appropriate-sized Allen wrench.
- Gently tap the top of the steerer tube with a rubber mallet or a block of wood to loosen the stem from the fork. The stem should now slide off the steerer tube.
- Remove the handlebars from the old stem. Pay attention to how the handlebars are positioned, so you can replicate it with the new stem.
Step 5: Clean the Steerer Tube: Use a clean rag to wipe down the steerer tube and remove any dirt, grease, or debris. This will ensure a clean surface for the new stem installation.
Step 6: Apply Grease: Apply a thin layer of grease to the inside of the new stem’s steerer tube clamp area. This will help prevent corrosion and make it easier to adjust in the future.
Step 7: Position the Stem:
- Slide the new stem onto the steerer tube, aligning it with the desired orientation. The stem should have alignment markings that can help you achieve the correct angle.
- Ensure that the stem is evenly spaced on the steerer tube, with an equal amount of space above and below the stem.
Step 8: Reattach the Handlebars:
- Slide the handlebars into the stem clamp area. Ensure that the handlebars are positioned correctly according to your riding preference.
- Tighten the stem bolts slightly to hold the handlebars in place. This will allow you to make final adjustments before fully tightening.
Step 9: Adjust and Align:
- Align the handlebars with the front wheel. Use a level or your eye to ensure they’re straight.
- Adjust the stem’s angle if needed, aligning it with the front wheel and your riding posture.
Step 10: Torque the Bolts:
- Following the manufacturer’s specifications, use a torque wrench to tighten the stem bolts gradually and evenly. Start with a low torque setting and gradually increase it until the recommended torque is achieved.
- Typically, stem bolts are tightened to around 4-6 Nm (Newton-meters), but refer to the stem manufacturer’s guidelines.
Step 11: Check Tightness and Alignment: Double-check that all bolts are properly tightened and the stem and handlebars are aligned with the front wheel.
Step 12: Test Ride and Final Check: Take your bike for a short test ride in a safe area to ensure everything feels comfortable and secure. If any adjustments are needed, return to the previous steps to make them.
Congratulations! You’ve successfully installed a mountain bike stem. Remember that improper stem installation can affect your riding experience, so take your time and ensure everything is done correctly. If you’re unsure about any step, don’t hesitate to seek guidance from a professional bike mechanic.